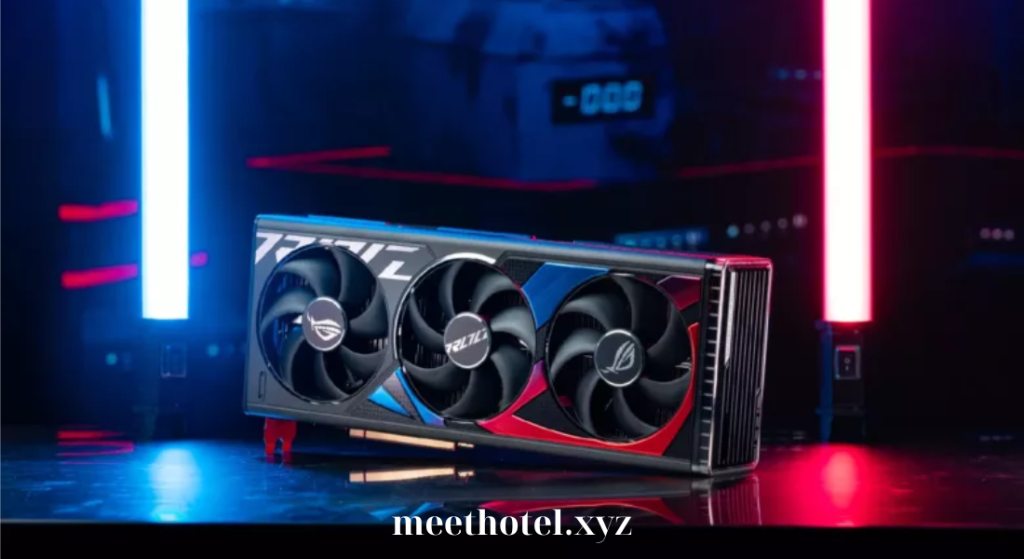
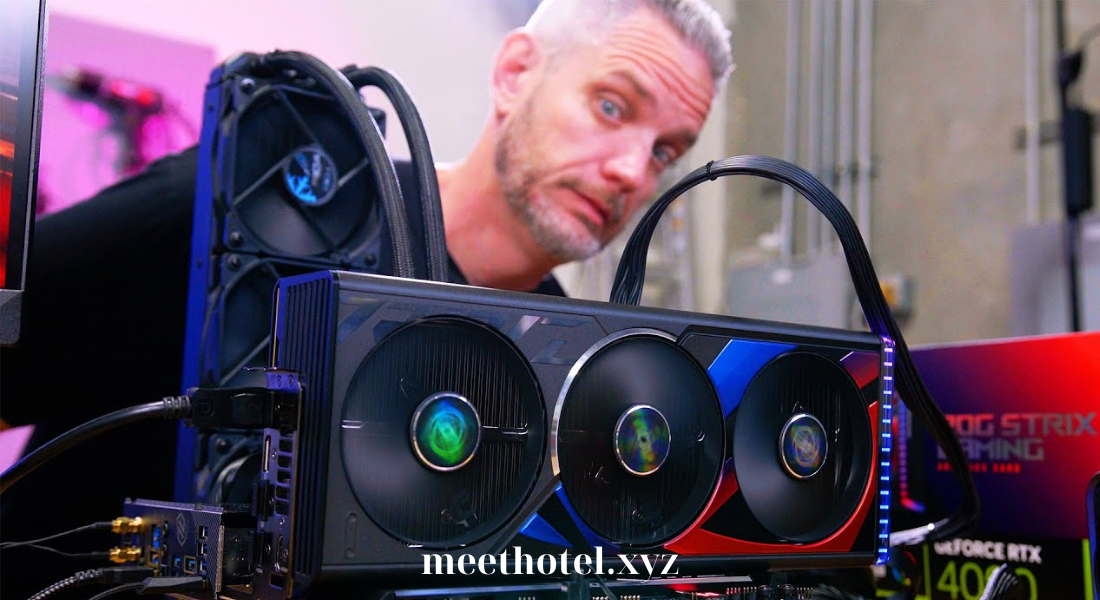
As the powerhouse of NVIDIA’s latest GPU lineup, the RTX 4090 delivers unparalleled performance for gamers, streamers, and creators alike. But for those wanting to push the card’s capabilities even further, overclocking the RTX 4090 can unleash hidden potential, allowing higher frame rates and smoother gameplay experiences. While the RTX 4090 already performs exceptionally well out-of-the-box, overclocking can squeeze out additional performance, making it an enticing option for enthusiasts. In this guide, we’ll explore what overclocking entails, the benefits and risks of overclocking the RTX 4090, and step-by-step instructions for achieving a stable overclock.
1. Understanding Overclocking and the RTX 4090

Overclocking is the process of increasing the GPU’s core clock and memory speeds beyond factory settings to gain more performance. The RTX 4090, based on NVIDIA’s latest architecture, is designed with overclocking in mind, but it’s essential to understand its architecture and power limits before making adjustments. Here’s a breakdown of why overclocking the RTX 4090 is unique:
- Advanced Cooling Solutions: With a high-performance cooler already equipped on most RTX 4090 models, the card is designed to handle extra power and heat, making it ideal for overclocking.
- High Power Consumption: Overclocking the RTX 4090 will increase power consumption. Be prepared to use a robust PSU and ensure proper airflow within your case.
- Temperature Considerations: The RTX 4090 has a robust thermal design, but overclocking may still result in higher temperatures. Monitoring temperatures is key to maintaining stability and preventing thermal throttling.
2. Preparing for Overclocking the RTX 4090
Before diving into the process, it’s crucial to prepare your system. Here are the essentials:
- Check Your Power Supply: Overclocking the RTX 4090 requires a high-quality power supply with adequate wattage. A PSU of at least 850W is recommended, but 1000W may be ideal for stability under heavy loads.
- Install Overclocking Software: Download software like MSI Afterburner or EVGA Precision X1, which are popular tools for safely overclocking the RTX 4090. These programs allow you to adjust settings such as core clock, memory clock, and voltage.
- Update Drivers: Ensuring you have the latest NVIDIA drivers installed can improve compatibility and stability when overclocking the RTX 4090.
- Test Your Cooling System: Effective cooling is vital for a successful overclock. Make sure your PC’s cooling system is optimized and can handle the increased thermal output.
3. Step-by-Step Guide to Overclocking the RTX 4090
Once your system is ready, you can begin overclocking. Here’s a detailed step-by-step guide:
Step 1: Increase Core Clock in Small Increments
Using MSI Afterburner or your preferred tool, start by increasing the core clock speed by small increments of 15-25 MHz. Test each increase for stability by running a benchmark or stress test like 3DMark or Unigine Heaven.
Step 2: Adjust the Memory Clock
Once the core clock is stable, start increasing the memory clock in similar small increments. The RTX 4090’s GDDR6X memory can usually handle significant overclocks, but be cautious, as too high a memory speed can lead to instability.
Step 3: Raise the Power Limit
Raising the power limit allows the GPU to consume more power, which can lead to higher performance. Set the power limit to the maximum value your card and software allow to give it extra headroom.
Step 4: Test for Stability
After each adjustment, test your overclock by running extended benchmarks. Watch for crashes, artifacts, or temperature spikes. If you experience instability, reduce the settings slightly until stable.
Step 5: Fine-Tune and Monitor
Once you’ve found a stable overclock, monitor your GPU’s performance during gaming or workload sessions. Make any necessary tweaks to maintain balance between performance and stability.
4. Benefits of Overclocking the RTX 4090
When done right, overclocking the RTX 4090 can lead to notable performance gains:
- Higher Frame Rates: Overclocking can increase FPS, giving you smoother gameplay, especially at 4K resolutions or in VR applications where performance is crucial.
- Enhanced Visual Quality: Games and applications that require heavy graphics processing will run more smoothly, allowing you to experience high settings without compromising performance.
- Future-Proofing: As games become more demanding, a slight overclock can help maintain the RTX 4090’s relevance, prolonging its value in your system.
5. Risks and Considerations for Overclocking the RTX 4090
Overclocking isn’t without risks, so understanding potential downsides is essential:
- Increased Heat and Noise: Overclocking pushes your GPU harder, which will generate more heat. This may increase fan noise, so ensure your cooling setup can handle it.
- Shortened GPU Lifespan: While overclocking the RTX 4090 can boost performance, it can also potentially shorten its lifespan if not done carefully.
- System Instability: An unstable overclock can cause crashes and reduce overall system stability. Regularly test and monitor to avoid this issue.
6. Best Practices for Monitoring and Maintaining Overclocked RTX 4090 Performance
Maintaining stability and performance after overclocking the RTX 4090 is key to long-term success:
- Use Monitoring Tools: Use software like HWMonitor or GPU-Z to track temperatures, power draw, and performance metrics, ensuring your overclock remains stable under different loads.
- Regularly Clean and Maintain Your System: Keeping your PC clean of dust and ensuring good airflow can help the overclocked RTX 4090 run smoothly, avoiding unnecessary overheating.
- Update Drivers and Software: New updates from NVIDIA can improve stability and may affect overclocking headroom. Keep your drivers and overclocking software current.
7. Alternatives to Overclocking for Boosting RTX 4090 Performance
If overclocking the RTX 4090 seems too risky or complicated, there are other ways to maximize performance:
- Optimize Game Settings: Adjusting in-game graphics settings can have a big impact on FPS without overclocking.
- Use NVIDIA’s Dynamic Super Resolution (DSR): This feature allows you to render games at higher resolutions and then scale them down, improving image quality without a large performance impact.
- Enable NVIDIA Reflex: For those focused on gaming, NVIDIA Reflex reduces input lag, providing smoother gameplay without additional strain on the GPU.
Conclusion
Overclocking the RTX 4090 is a rewarding process that, when done correctly, can deliver noticeable performance gains for gaming and creative tasks. By carefully adjusting core and memory speeds, power limits, and ensuring adequate cooling, you can unlock higher FPS and improved visuals without compromising stability. While it’s essential to consider the risks and monitor performance closely, overclocking the RTX 4090 can take your PC experience to new heights, making it a valuable technique for tech enthusiasts and power users. Follow this guide to explore what your RTX 4090 is truly capable of and enjoy a new level of performance!
